Showing posts with label Fall. Show all posts

9/24/2015

Fall Baking ... Pumpkin Cookies and Scones

Things have been a tad crazy over the last few months. My husband graduated from dental school, we moved to another state, he started a new job, and we found out another Dow is on the way! Lots of changes, to say the least. And we are now entering my favorite time of year - fall, with its crisp air and changing colors.

With fall comes pumpkin season, and with pumpkin season comes baking. For us at least, two pumpkin treats are an essential part of fall baking: cookies and scones. Although the temperature is still in the 70s around here, the official start of fall this week had me wanting those pumpkin staples.

A while ago, Joanne shared a family favorite and go to pumpkin cookie recipe here on The Sisterhood - didn't want to reinvent the wheel on this one (since they're so yummy). 

However, I started searching Pinterest for a pumpkin scone recipe that was simple and that I already had ingredients for. I came across this Starbucks Pumpkin Scone knock-off recipe and am in love with it. Check it out and let us know if you love it too! 

Jill for The Sisterhood


11/01/2013

Pumpkin Mousse

A few weeks ago, we had some friends over and wanted to do something different for dessert (besides the usual chocolate/fruit). Because it was fall, I was going for something that tasted fall-ish and found a recipe for pumpkin mousse. All 8 of us gobbled it up - and especially the men LOVED the mousse, which surprised me. It's rich and thick and creamy, and I had put it in little glass dessert cups with cool whip on top and a gingersnap set into it. It's now in my recipe box for good! 
~Sarah


Ingredients:

  • 1 8oz. package of cream cheese
  • 1/3 cup of sugar
  • 1 teaspoon of vanilla extract
  • 1 15oz. can of pumpkin puree
  • 1 Tablespoon of pumpkin pie spice
  • 1 3.4oz package of vanilla or butterscotch pudding
  • 1 cup of milk
  • 8 oz. tub of cool whip


Step 1: Cream the cream cheese in the mixer for 3 minutes. Add the sugar and vanilla, and mix until the consistency is even. Add the pumpkin and mix until combined. 

Step 2: Add the pumpkin pie spice, pudding mix, and milk and mix for another 3 minutes until the consistency thickens. Remove from the mixer and use a spatula to fold in the cool whip. Refrigerate until ready to serve.

Variations: We served ours without anything inside, but one variation is to crumble some of the gingersnaps or some graham crackers and layer them inside of your dishes with the mousse. You could also try using this as a fruit dip. 


10/31/2013

Pumpkin Butter

© 2013 Less-than-perfect life of bliss
Used with permission
I had never heard of pumpkin butter until a few weeks ago, when I read a blog post about a simple, quick, and yummy gift idea - Homemade Pumpkin Butter. I'm not a huge pumpkin-flavor fan (as mentioned before), but this looked so good and so easy that I had to at least try it. I mean, it would at least make a good gift for other people, right? The fact is, it does make a great gift for other people - but it's so good, you might not want to give any of it away. Ready for your soon to be new favorite recipe? Here you go:


HOMEMADE PUMPKIN BUTTER
Ingredients:

  • 3/4 cup of orange juice (I used Pulp Free)
  • 1 cup light brown sugar
  • 4 teaspoons of pumpkin pie spice
  • 1 29oz. can of pure pumpkin puree (or 2 15oz cans)


Directions:
In a medium saucepan, heat the orange juice, sugar, and spice to a low boil, whisking continually to keep from scalding. Cook at a low boil for a few minutes until sauce thickens slightly. 

Reduce heat to low and stir in the pumpkin puree. Continue to stir as the pumpkin heats, until all ingredients are thoroughly mixed in.  Turn burner off and let pumpkin butter cool while you prepare your jars (or other storage containers). 

This recipe will fill 5 of the half-pint sized jars. I was able to get a set of 12 of them at our local grocery store for only $7.99, or you can find them here on Amazon (free shipping for Prime Members).  

After filling your jars, you can put these really cute labels on the lids and either keep or gift. The pumpkin butter should last in the refrigerator up to 3 weeks. For the ones I "gifted," I wrote an expiration date on the bottom of the jar. So far we've tried this recipe out on biscuits and on bagels - SUPER DELICIOUS on both!!

NOTE: This whole process, from start to finish, took me a grand total of 8 minutes - including getting everything out, making, and storing. So Happy Fall to everyone! And let us know how yours turns out and if you have any other great foods we should try this on. 

© 2013 Less-than-perfect life of bliss
Used with permission.

~Megan for the Sisterhood


10/30/2013

Cecile's Pumpkin Roll

Every fall, Grandma Cecile makes her famous, delicious pumpkin roll. And every fall, we love being on the receiving end. Before I was married, I was thankful to live next door to Grandma so I could enjoy this scrumptious treat often. Now, whenever I have a chance to make this, I do - and think of Grandma's wonderful pumpkin goodness.                             ~Julie 

CECILE'S PUMPKIN ROLL

Bread Ingredients:
  • 3 eggs
  • 1 cup of sugar
  • 2/3 cup of canned pumpkin
  • 1 teaspoon of salt
  • 1 teaspoon of baking soda
  • 3/4 cup of flour
  • 1/2 teaspoon of cinnamon

DIRECTIONS

Step 1: Stir together eggs, sugar, and pumpkin with a spoon. Add salt, baking soda, flour, and cinnamon and mix well.

Step 2: Pour batter into a well-greased 10x15 pan. Bake at 375* F for 12 minutes. 

Step 3: Sprinkle a tea towel (non-terry cloth) with lots of powdered sugar. Once the bread is done baking, remove it onto the tea towel and roll it up in the towel. Cool for 30 minutes. 

Step 4: Once it's done cooling, unroll and remove tea towel. spread the inside with the filling (below). Re-roll tightly and refrigerate 1 to 2 hours. Cut in 1" slices to serve and enjoy. 

Filling Ingredients:
  • 1 8oz. package of cream cheese
  • 2 Tablespoons of butter
  • 1 teaspoon of vanilla
  • 1 1/2 cups of powdered sugar

Beat ingredients together quickly with a whisk or electric mixer. 


10/29/2013

Pumpkin Scones

Today's contribution to The Great Pumpkin Posts will nicely compliment yesterday's Pumpkin Spice Lattes. Jill recently found a recipe online for Pumpkin Scones, which she has now made, tasted, and loves! We're thankful that she's sharing it. 


Scone Ingredients
  • 2 cups all-purpose flour
  • 4 tablespoons sugar
  • 1 tablespoon baking powder
  • 1/2 teaspoon salt
  • 1/2 teaspoon ground cinnamon
  • 1/4 teaspoon ground ginger
  • 3 tablespoons  butter
  • 1/2 cup canned pumpkin
  • 3 tablespoons milk
  • 1 large egg

DIRECTIONS
Step 1: Preheat oven to 425* F. Combine flour, sugar, baking powder, salt, and spices in a large bowl. Cut butter into dry ingredients until no chunks are obvious. Set aside.

Step 2: In a separate bowl, whisk together pumpkin, milk, and egg. Fold wet ingredients into dry ingredients, and then form the dough into a ball. 

Step 3: Pat the dough out into a long rectangle on a floured baking sheet. Slice the rectangle into 3 separate pieces. Then diagonally cut the dough again to make 6 triangular pieces. Bake in the oven for 14-16 minutes (scones should begin to brown). Then place on a wire rack to cool.

Spiced Glaze Ingredients:
  • 1 cup powdered sugar
  • 3 tablespoons powdered sugar
  • 2 tablespoons whole milk
  • 1/4 teaspoon ground cinnamon

DIRECTIONS: Combine all ingredients together in a bowl, mixing with either a fork or metal spoon. Drizzle the icing over scones (while still on the wire rack) and let dry before serving.


10/28/2013

Pumpkin Spice Latte x 2

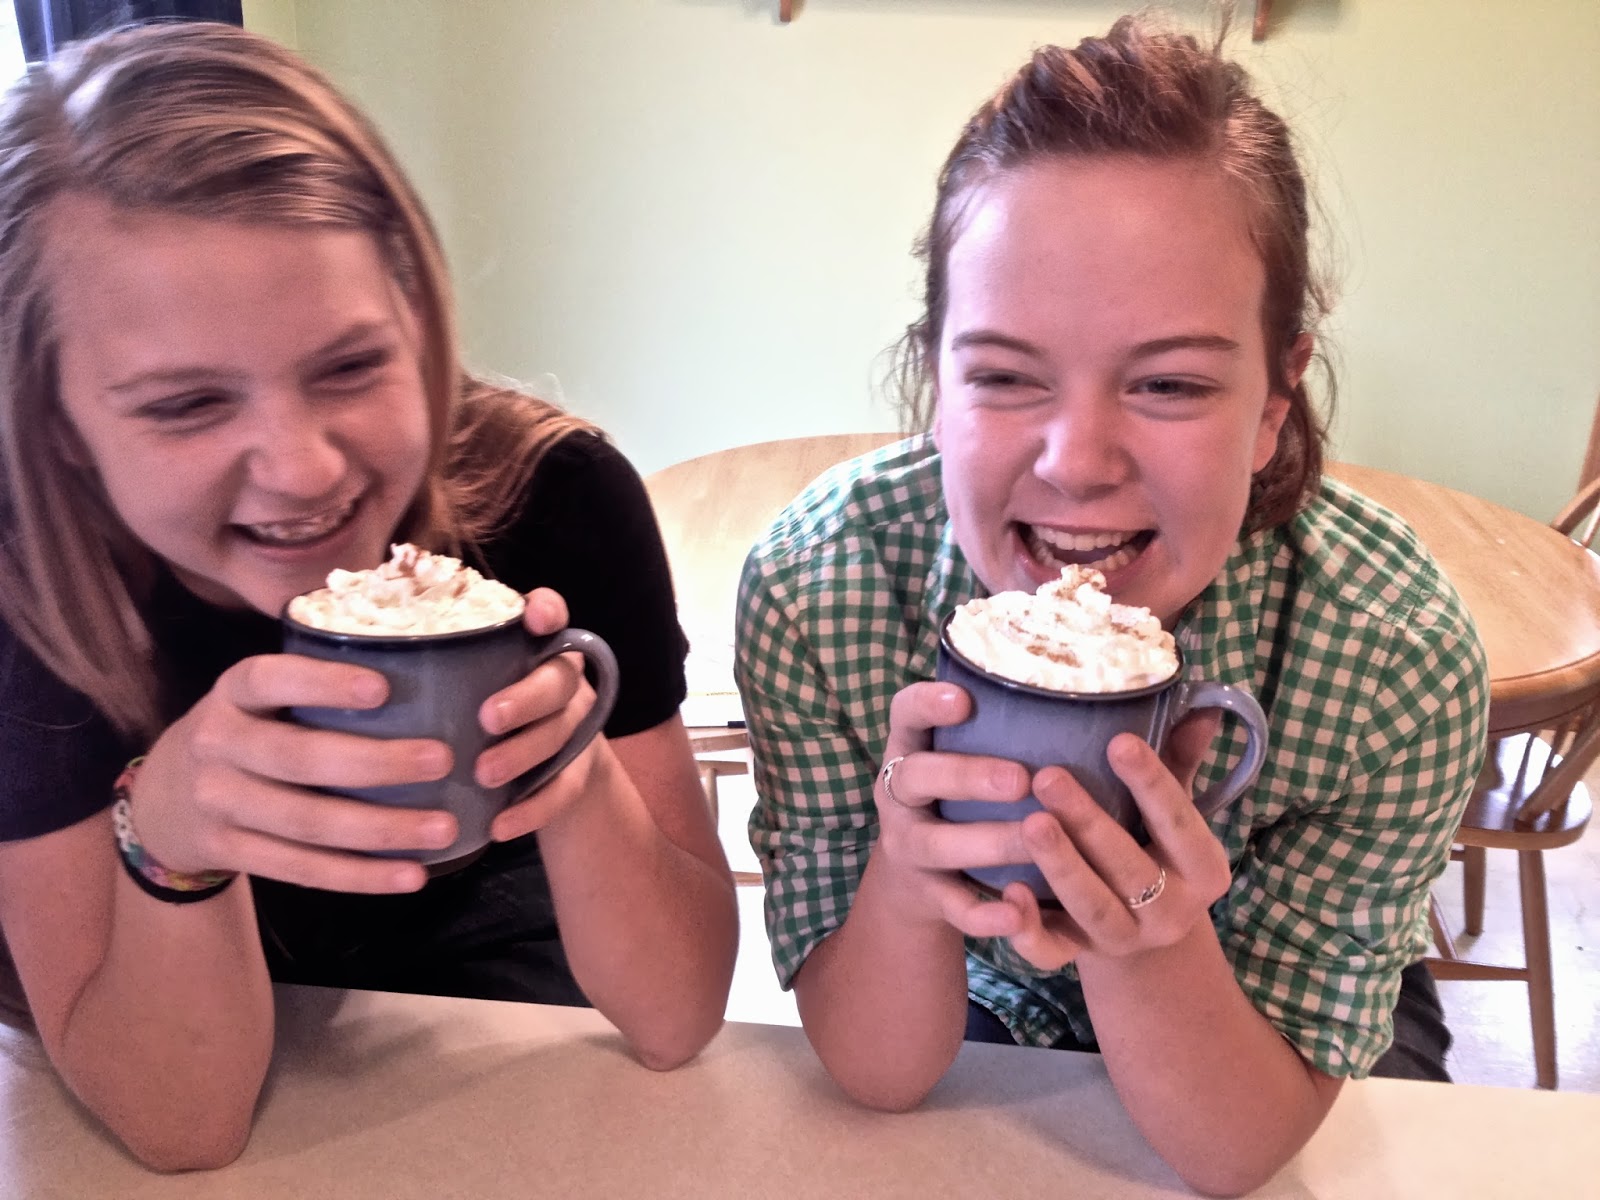
It used to be that people knew that fall had arrived with the changed color of leaves and frost-laden grass. Now we all know fall is here once our local coffee shops start carrying their Pumpkin Spice Lattes. (Anyone else think it gets earlier every year?)

We don't know if you're a "pumpkin" fan or not, but given its permanency in American coffee culture, our week of Great Pumpkin Posts had to include this favored beverage. And we're including not just one, but TWO versions of the P.S.L. Joanne's version will keep in the fridge for up to 10 days and makes about 8 servings; Megan's makes a little less (2-3 servings) but has a wonderful "frothy" consistency to it. So if you're in the mood (or having some friends over), give one (or Both!) of these a try and let us know which one you prefer. 

Joanne's Pumpkin Spice Latte
adapted from "a farmgirl's dabbles" recipe.

  • 1 can (15 oz.) pumpkin
  • 2 c. milk
  • ½ c. (½ can) sweetened condensed milk
  • ½ c. brown sugar
  • 2 Tbsp vanilla
  • 1 Tbsp cinnamon
  • ½ tsp. ginger
* Allspice, ground nutmeg, and ground cloves may also be added as desired.


To prepare Pumpkin Mix:

Puree all ingredients in the blender for approximately 2 minutes.

Store in a glass jar in the fridge.  Will last 7-10 days.
Makes about 8 servings.

To assemble beverage:
Fill mug ⅓-½ with pumpkin mix (will need to shake well as it tends to separate).
Warm mug in microwave 45-60 seconds.
Fill remaining space in mug with freshly brewed coffee, stir, and enjoy.
For a little something extra, top with whipped cream, cinnamon, and dark chocolate shavings.

Megan's Pumpkin Spice Latte
adapted from a Huffington Post video.

  • 2 cups of milk
  • 2 Tbsp. canned pumpkin pie mix (can substitute regular canned pumpkin for this, but isn't as sweet/spicy)
  • 2 Tbsp. sugar
  • 2 Tbsp. vanilla
  • 1/2 tsp. pumpkin pie spice
  • 1/2 cup strong espresso or coffee
Note: Currently, all ingredients can be found at Aldi for a very low cost, including a Dark Roast Harvest Blend coffee, pumpkin pie spice, and canned pumpkin.


Step 1: Stir milk, pumpkin pie mix, and sugar together in a saucepan on medium heat until it starts to steam. Make sure to keep stirring to prevent milk from scalding.

Step 2: Remove saucepan from heat and add vanilla and pumpkin pie spice. At this point, you will either pour all this mixture into a blender or use a whisk to beat it by hand. This will create the nice, frothy consistency to the cream part that is good in a latte.

Step 3: Divide the blended cream into 2 large mugs (or 3 smaller sized mugs) - you want at least half of the mug to be full of cream. Then you will fill the rest of the mug with the coffee/espresso. NOTE: Pouring the coffee in on the side of the mug (instead of directly over the top) will help preserve the foam in the milk.

Step 4: Top off your drinks with whipped cream and sprinkled with a little more pumpkin pie spice. Enjoy!


Check back tomorrow for a yummy Pumpkin Scone recipe!

10/05/2013

Freezer Apple Pie Filling

Joanne's Children at the Apple Orchard
We have enjoyed the traditional "Pure Michigan" apple orchard fun a couple of times this fall, and have come away with ALOT of apples!  I used a freezer idea I found on Pinterest to make four apple pies worth of filling to put in the freezer for homemade pie in a snap later this year.  The original recipe for this pie filling came from here, and my adaptation of the recipe can be found at the end of this post (just keep scrolling).


A small collection of ingredients

An apple corer/peeler/slicer is highly recommended

Several apples sliced up

Simmering Apple Pie Filling (smells amazing!)

Four apple pies sans crust cooling before going in the freezer

Frozen pie filling ready for throwing in a pie crust for a quick and delicious dessert
Apple Pie Filling Recipe:
(Makes Filling for 4-5 pies)

20 cups thinly sliced apples
3 Tbsp lemon juice
4 1/2 cup white sugar
3/4 - 1 cup cornstarch
2 tsp ground cinnamon
1 tsp salt
7 cups water (or combination of water/apple juice)

  1. In a large bowl, toss apples with lemon juice and set aside.
  2. Pour water into a stockpot over medium heat.
  3. Combine sugar, cornstarch, cinnamon, and salt. 
  4. Add to water, stir well, and bring to a boil.
  5. Boil for 2 minutes, stirring constantly.
  6. Add apples and return to a boil.
  7. Reduce heat, cover and simmer until apples are tender (6-8 minutes).
  8. Cool for 30 minutes.
  9. Ladle into 4-5 gallon sized ziploc bags, which are sitting in pie plates.  Cool at room temperature no longer than 1 1/2 hours.
  10. Seal and freeze in Ziploc bags, in pie plates.
  11. When fillings are frozen, remove from pie plates and stack in the freezer.
  12. To bake pies prepare crust, set frozen pie filling in the crust, top with crust or crumble, and bake from frozen state 45-60 minutes at 425 degrees.


for the Sisterhood

9/24/2013

Homemade Cinnamon Applesauce


It's everyone's favorite season again - so hopefully you are enjoying cooler weather and the changing colors. To kick us off, Jill shares a recent activity and recipe.


This year our family enjoyed a great, fun day at a local fruit farm picking apples. We were able to pick quite a few apples which gave a great opportunity to make a few of our family favorite apple dishes: Applesauce and Apple Crisp.

Recipe for Homemade Cinnamon Applesauce
yields about 15 cups


Ingredients
8 qt. cooking pot (roughly 11-
  12 lbs of apples)
  2 c. water
  ½ c. lemon juice
  2 Cinnamon sticks


Directions
Peel, Core, and dice apples. Add Apples water, lemon juice, cinnamon sticks.

Bring to a boil. Reduce heat to low and simmer, stirring occasionally (make sure that you put a lid on the pot, as the applesauce will bubble up and pop).


Allow the applesauce to reduce down to desired consistency. 
Remove Cinnamon sticks.

Place applesauce in containers to store (additional ground cinnamon can be added to taste when placed in containers).


Enjoy!

Jill, for the Sisterhood

10/16/2012

Fall Pumpkin Craft - Kid Friendly

For this fall season, I’ve been looking for some safe pumpkin decoration options for our family of little people with inquisitive minds but tender fingers. So when I went to a friend’s house this week, I noticed a craft that she had done with her daughter, making small pumpkins out of strips of decorative paper. Her idea involved also making a garland with them. I thanked her for the idea and the next day figured out how to create these with my kids! 

After doing the first few, the kids and I got a system down and made over a dozen - easy and completely harmless! In the end, we made a garland and name cards out of these darling little pumpkins. I'm sure that you can come up with even more ways in which to use these. So if you are interested, here's a quick tutorial for this kid-friendly fall craft:

Fall Pumpkin Craft for Kids
Trim 1” strips of decorative or colored paper. You will need four strips for one pumpkin.
Punch small holes in each end of each strip.
Tear off a small scrap of green paper and pierce with a brad.
Take the end of one strip and place under the green scrap threading it onto the brad.
Wrap the strip around to form a circle and place the other end of the strip onto the brad. Repeat 4 & 5 three more times.
After all four strips (eight ends) are threaded onto the brad, fold the brad’s ends down and apart from each other.
Turn and straighten the strips so they form an even circle.
To make the garland, simply thread twine through the strips of the pumpkin.
For name cards, simply write names and flatten gently so they stay in place.

Happy Kid-Crafting!

10/05/2012

Fall Decor on a Budget

Fall Decor on a Budget
Okay, this is seriously the last post I'm doing until D-Day . The next post you hear from me will hopefully be about the arrival of this baby girl who is very content right now to stay where she is. I keep hoping that all of these projects & activities will encourage her to come out ... but to no avail. So anyway, here's just a little post with a few budget-friendly decor ideas that I used and borrowed from various sources to get the house ready for fall - my all-time favorite season to decorate for. 

My favorite place to try to pick up super-cheap decorating items is absolutely The Dollar Tree. If you don't have one near you, I am very sorry. As advertised, everything there is $1 (or less). So generally I can find some things to work with for not much at all. Below is one thing I threw together with just about everything in the photo from the Dollar Tree. (The only thing not from the dollar tree is the bit of burlap in the vase, leftover from a previous project). 


Fall floral arrangement

Obviously the Dollar Tree has a lot of cheap, fake flowers, but if you dig around, you can usually find some decent ones that'll work to give you just a splash of color. This year, I'm sort of in a "purple" theme (given baby girl's imminent arrival); so I've got some shade of purple (we'll call it "plum") in most of my stuff. Dollar Tree has a great variety of vases - of all shapes & sizes. So the one above is from there, as well as all of the ones in the pictures below. 

Candle trio on end table

Yes, every last item shown here, minus the cloth napkin, is a Dollar Tree item. Two of the candles (white & orange) came in the vases they are in; the other was another cool style of vase that I found and filled with the rest of my bag of river rocks. I even found the silver tray (and yes, it's metal, not plastic) in the party section of the store. So that was a fun find! 

Candle platter in context - on Hazelnuts end table

And here's where I'm putting in a plug for my super-crafty/artistic/ talented friend, Charis, and her furniture refinishing home business. If you haven't yet heard of or visited her site, Hazelnuts, you'll definitely want to check it out. If you live in the Southeast, you might just want to bid on her next piece. Otherwise, if you're like me and (now) live far away, you're sure to find some great refinishing ideas on there. She refinished the end table above in that beautiful, custom-blended navy color for me. My husband and I both love how it turned out - and how it's become a great focal point in the room. Thanks Charis!

Back to the decor - I had two more spots to hit before I felt like the house was "decorated." One was the ledge above our entryway. And even though most people don't notice it at first, I just felt like I had to do something with it. So I basically just combined some pieces of pottery & dishes I already had with some burlap, fake pumpkins & gourds (Dollar Tree,Walmart, & Target), candles, raffia, and a bag of cinnamon-scented pine cones (also from Walmart) that are still filling my entryway with the smell of spices. 

Entryway display

My last project was the front door wreath. Several months ago, I picked up a grapevine wreath at the Goodwill during one of their Blue Tag $1.49 Tuesdays, knowing I wanted to use it for this season. (Keep your eyes open at these places off-season!) Then, about a month ago, one of my friends posted some ideas and links on her blog about decorating a grapevine wreath for fall, mainly with some felt, burlap (which I had leftover from a previous project of Jill's), and silk flowers. I was all set! So using some of the pictures and instructions from these blogs, I went to work last night - and finished it in about 2 hours time! (Note: I would not recommend trying to wield a hot glue gun at 9-months pregnant, as many burn injuries will probably occur). Below is the result with a few close-ups:

Fall wreath
So that's it. Overall, I think I spent less than $30 for everything (including crafting items I will use in the future).Thanks to all of you artistic people out there who inspire me to try to get outside of the box - I love borrowing ideas! And please, feel free to share any of your own crafty or thrifty fall decorating ideas below. I would love to start collecting for next year. :-)